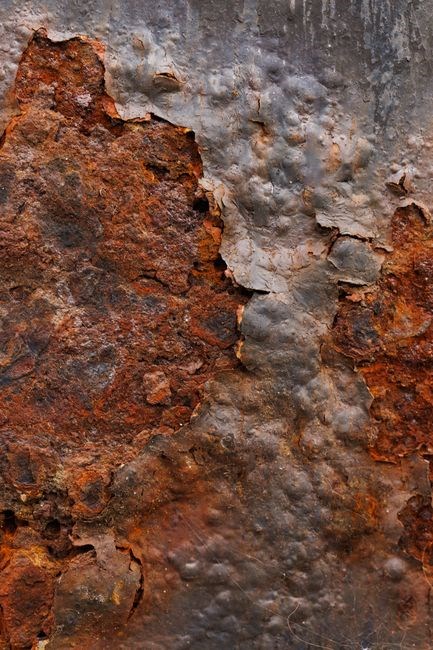
Overview of POR-15 Metal Prep
POR‑15 Metal Prep is the first step before coating. Thoroughly clean the metal with POR‑15 Cleaner Degreaser to remove oils, grease and contaminants. Then apply POR‑15 Metal Prep to etch the surface, create a rough profile, and lock in the coating for long‑term protection. Follow the manufacturer’s guidelines.
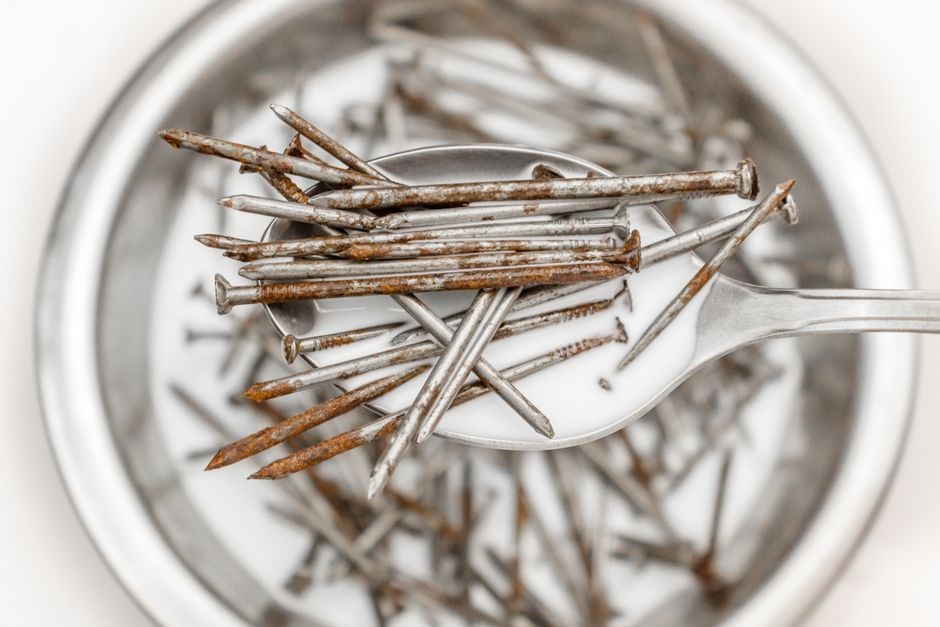
Materials and Safety
POR‑15 Metal Prep requires the cleaner, the prep solution, a clean rag, a spray bottle, and protective gear: gloves, goggles, and a respirator. Store chemicals in a cool, ventilated area. Follow safety data sheets, avoid skin contact, and keep away from hea sources.Wear gloves, goggles, mask for safety. for care.
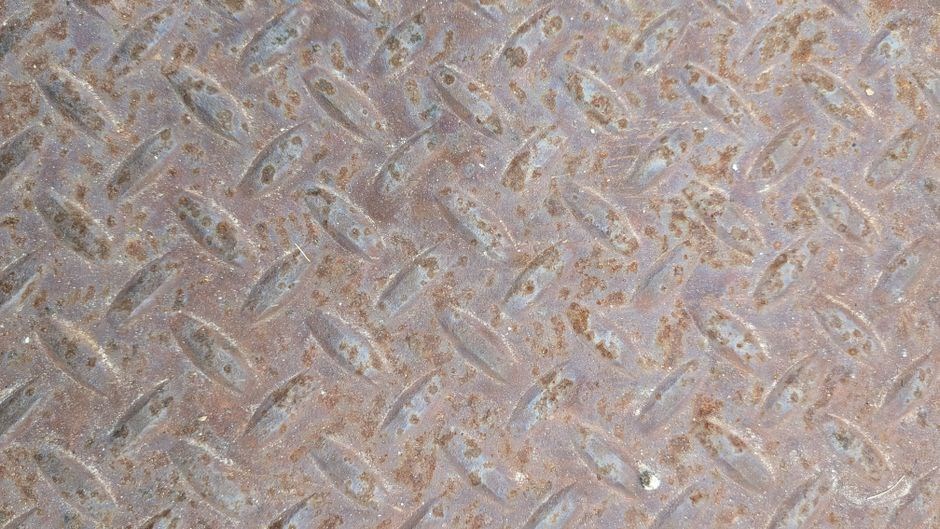
POR-15 Cleaner Degreaser and Metal Prep
POR‑15 Cleaner Degreaser is the first step in the preparation process. It removes oils, greases, and surface contaminants that would otherwise interfere with adhesion. The product is a high‑concentration solvent that dissolves residues without leaving a film. After spraying or wiping the surface, allow the cleaner to sit for 30–60 seconds, then rinse or wipe off with a clean, lint‑free cloth. This step ensures that the metal is free of any chemical or particulate matter that could compromise the coating’s performance. Once the surface is dry, POR‑15 Metal Prep is applied. This etching agent is a phosphoric‑based solution that creates a micro‑roughened profile. The roughness improves mechanical bonding and promotes chemical interaction between the substrate and the final POR‑15 coating. Apply the prep with a brush or spray, covering the entire area uniformly. Allow it to react for 10–20 minutes while keeping the surface wet; this prevents premature drying and ensures optimal etching. After the reaction time, rinse the surface thoroughly with water and dry completely before proceeding to the next step. The combination of the cleaner and the prep solution guarantees a clean, etched surface that maximizes the durability and corrosion resistance of the final POR‑15 application.
By adhering to these steps, the surface becomes an ideal substrate for POR‑15, ensuring a durable, corrosion‑resistant finish that can withstand extreme temperatures. Proper cleaning, etching, and rinsing are critical; any lapse can result in poor adhesion or blistering!!!!!!!!!.
Protective Gear
When using POR‑15, keep the work area free of dustand clean particles. After cleaning, wipe the surface with a tack cloth or microfiber rag to remove residual oils. Store the prep solution in a sealed container and maintain it at 68–77°F. If the temperature is too low, the solution may not etch properly; if too high, it can dry too quickly, causing uneven coverage. Store unused prep sealed to preserve potency.
When using POR‑15, keep the work area free of dustand clean particles. After cleaning, wipe the surface with a tack cloth or microfiber rag to remove residual oils. Store the prep solution in a sealed container and maintain it at 68–77°F. If the temperature is too low, the solution may not etch properly; if too high, it can dry too quickly, causing uneven coverage. Store unused prep sealed to preserve potency.
When using POR‑15, keep the work area free of dustand clean particles. After cleaning, wipe the surface with a tack cloth or microfiber rag to remove residual oils. Store the prep solution in a sealed container and maintain it at 68–77°F. If the temperature is too low, the solution may not etch properly; if too high, it can dry too quickly, causing uneven coverage. Store unused prep sealed to preserve potency.
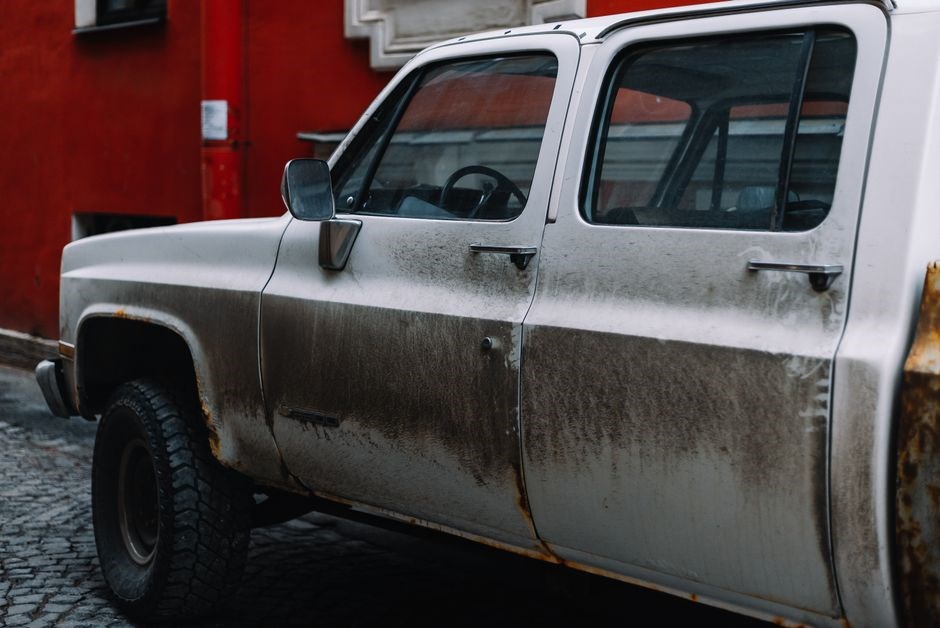
Cleaning and Rust Removal
Use POR‑15 Cleaner Degreaser to scrub oils, grease, and rust. Rinse, then keep the surface wet for 10‑20 min to allow etching. Inspect every 30 min; if heavy rust, extend time. Finally rinse thoroughly, dry, and proceed to prep;
Use gloves and observe safety always
Removing Oils and Grease
Begin by ensuring the metal surface is free of loose debris, rust flakes, and any loose paint. Apply a generous amount of POR‑15 Cleaner Degreaser to the area, using a stiff‑bristle brush or a high‑pressure spray, depending on the size of the component. The degreaser is formulated with surfactants that break down oils, greases, and other organic contaminants that can inhibit adhesion.
Work in a well‑ventilated area and allow the cleaner to sit for the time recommended on the product label—typically 5 to 10 minutes. During this period, the degreaser will emulsify and lift grease from the metal surface. Scrub gently but firmly, ensuring that the solution reaches all corners, seams, and recessed areas. For heavily soiled parts, a second application may be necessary.
After the degreasing period, rinse the surface thoroughly with clean water to remove all residues of the cleaner. Inspect the metal under good lighting; any remaining oil or grease will appear as a sheen or a faint film. If such a film is detected, reapply the degreaser and repeat the scrubbing and rinsing steps until the surface feels dry and free of tackiness. A clean, oil‑free substrate is essential for the subsequent etching and adhesion of POR‑15 Metal Prep and the final coating.
During the cleaning process, pay attention to any seams or welds where oil can accumulate. A microfiber cloth can help remove particles that a brush might miss. After rinsing, allow the metal to dry so before proceeding to the next step, as moisture can interfere with the etching solution.
Dry vs Wet Rust Removal
Dry versus wet rust removal is a critical decision in preparing metal for POR‑15; The choice depends on the extent of corrosion, the size of the area, and the desired surface profile. Dry methods, such as abrasive blasting, wire brushing, or sanding, mechanically strip loose rust and create a uniform roughness that promotes adhesion. They are ideal for light to moderate rust and allow for quick cleanup. However, dry techniques can leave behind microscopic iron oxides that may compromise the coating’s long‑term performance if not fully removed.
Wet rust removal, on the other hand, uses chemical agents or acid solutions that dissolve iron oxides. This approach is especially effective on heavily rusted surfaces where mechanical methods would be labor‑intensive or insufficient. After applying the wet remover, the metal must be rinsed thoroughly to eliminate all chemical residues, then kept wet for 10 to 20 minutes to allow the solution to penetrate micro‑pits. Once the surface is dry, it is ready for the POR‑15 Metal Prep etchant.
In practice, a hybrid strategy often yields the best results. Begin with a dry abrasive pass to eliminate loose rust and smooth the surface. Follow with a wet chemical treatment for stubborn spots, ensuring each step is fully rinsed and dried before proceeding. This sequence guarantees a clean, uniformly textured substrate that maximizes POR‑15’s adhesion and long‑term protection.
The process should be conducted under a well‑ventilated area, and protective gloves and eyewear are recommended to safeguard against splashes and fumes. Additionally, after the final rinse, the metal should be inspected for any remaining rust or residue; any spots should be re‑treated before proceeding to the next step. Proper surface preparation not only ensures a durable bond but also extends the lifespan of the protective coating, delivering superior corrosion resistance in harsh environments.
Etching and Prepping Surface
After cleaning, keep the metal wet for 10‑20 minutes to allow the POR‑15 Metal Prep to etch evenly. Rinse thoroughly, then apply the etchant in a thin, uniform coat. Let it dry, then wipe off excess. This creates a rough profile that locks the coating in place. Done.!!.
Keeping Surface Wet (10-20 min)
After the initial cleaning with POR‑15 Cleaner Degreaser, the metal must remain damp for an 10‑20 minutes. This period allows the POR‑15 Metal Prep to react fully with the surface, creating a microscopic etch that improves adhesion. During this, avoid letting the metal; any exposed area will lose the etching effect and compromise the coating. The should be uniform; any spots can create weak points. Use a clean, cloth to lightly dampen the surface if necessary, ensuring no streaks remain. The etching reaction is, so maintaining moisture is essential for penetration.
Once the 10‑20 minute window has elapsed, rinse the surface thoroughly with clean water to remove any residual cleaner or etchant. A final rinse ensures that no chemical residue interferes with the subsequent coating. After rinsing, blot the metal to remove excess moisture, but do not wipe dry. The goal is to keep the metal slightly damp until the next step.
Special attention is required for painted or chrome components. These finishes can discolor if the etchant remains in contact for too long. Remove the etchant from such areas immediately after the wet period, using a brush or a damp cloth, and rinse promptly. By controlling wet time, you keep the surface ready for POR‑15.
In practice, many technicians use a spray bottle to keep the surface moist without over‑saturating. A mist keeps the metal wet enough to preserve the etching while preventing puddles that could pool and cause uneven drying. After the period, wipe with a dry cloth to remove excess liquid.
Remember that the period is critical for the chemical action of the Metal Prep. Skipping or shortening it can result in poor adhesion, blistering, or reduced corrosion resistance. Always follow the manufacturer’s recommended timing and keep the surface wet until the next step is performed. This disciplined approach ensures a durable, long‑lasting POR‑15 finish!!
Applying POR-15 Metal Prep
Once the metal is clean, apply POR‑15 Metal Prep using a clean brush or spray. Spread a thin, even coat over the entire surface, ensuring no drips or puddles. The product should be applied in a single pass to avoid overlapping layers. Allow the prep to dry to the touch, which typically takes 5–10 minutes depending on humidity; After the first coat has set, apply a second coat if the surface is heavily rusted or if the manufacturer recommends it. Each coat should be thin and uniform; thicker layers can lead to uneven curing. After the final coat, let the prep cure for the time specified on the label—usually 30 minutes—before proceeding to the POR‑15 coating. During this cure period, keep the area free of dust and debris. Once cured, the metal is ready for the final POR‑15 application, which will bond securely to the etched surface, providing long‑term corrosion resistance. The application should be performed in a ventilated area to allow fumes to dissipate. Use a foam or synthetic brush to minimize brush marks. If spraying, maintain a distance of 12–18 inches to achieve a uniform film. The product dries to a tacky surface within 5–8 minutes, after which a second coat may be applied if the surface is uneven. Avoid over‑spraying; excess material can run and create a rough finish. After the final coat, the surface should feel smooth to the touch and exhibit a matte gray appearance. Store any unused prep in a container to prevent drying out. When handling the product, keep it away from sunlight, as UV exposure can degrade the solvent. Finally, ensure that the metal is dry before applying the POR‑15 coating; any residual moisture can cause blistering or poor adhesion
Final Application and Common Issues
Apply POR‑15 coating in thin, even layers, allowing each coat to dry to a tacky surface before the next. Inspect the work every 30 minutes for uniformity. Avoid prolonged exposure to painted or chrome areas to prevent discoloration. Finish with a clear coat if desired. Ensure ventilation application now!
Inspect Every 30 Minutes
During the POR‑15 application process, a systematic inspection routine is essential to ensure optimal adhesion and finish quality. The manufacturer recommends checking the coated surface every 30 minutes, especially when working in high‑humidity or temperature‑fluctuating environments. This interval allows you to catch early signs of tackiness, uneven drying, or surface contamination before they become permanent defects. Begin by visually scanning the entire area for any missed spots or drips; a quick wipe with a lint‑free cloth can reveal residual moisture or dust that might compromise the coating. Next, use a calibrated feeler gauge or a simple hand‑feel test to detect any soft patches that indicate incomplete curing. If a section feels slightly tacky, give it an additional 10–15 minutes of drying time before proceeding. Conversely, if a segment appears prematurely dry, re‑apply a thin coat of POR‑15 and allow it to cure fully. Consistent inspection also helps identify potential discoloration on adjacent painted or chrome surfaces; any discoloration can be corrected early by gently sanding the affected area and re‑coating. Document each inspection with a timestamp and notes on any corrective actions taken. This disciplined approach not only improves the durability of the coating but also reduces the need for costly re‑applications or touch‑ups later on. By following this inspection cadence, technicians can catch and correct minor imperfections early, ensuring a flawless, long‑lasting finish meets standards.!!
Avoiding Discoloration on Painted/Chrome Surfaces
When applying POR‑15 to areas adjacent to painted or chrome finishes, the key to preventing unwanted color shifts lies in meticulous surface handling and rapid removal of the metal prep. First, ensure the painted zone is fully sealed with a compatible primer or paint that can tolerate brief exposure to the etching solution; a thin, cured layer will act as a barrier. Next, apply a generous amount of POR‑15 Metal Prep to the bare metal, but limit its dwell time on the painted edge to no more than 10–12 minutes. During this window, keep the surface damp with a neutral‑pH water mist; the moisture dilutes the acidic etchant and reduces the risk of pigment leaching. After the allotted time, rinse the entire area thoroughly with clean water, then immediately wipe with a lint‑free cloth soaked in a mild, non‑ionic detergent to remove any residual acid. If any discoloration appears, treat it promptly with a gentle abrasive pad (e.g., 600‑grit) followed by a quick rinse; this restores the original tone without compromising the underlying paint. For chrome, use a dedicated chrome‑safe cleaner to neutralize the acid, then polish with a chrome‑specific buffing compound; Finally, apply a protective clear coat over the treated zone to lock in the finish and shield it from future exposure. By adhering to these steps—sealing, controlled exposure, wet maintenance, immediate rinsing, and protective coating—you can confidently apply POR‑15 delicate surfaces without compromising their appearance.