Overview of the ReliOn Glucose Meter
The ReliOn Glucose Meter is an affordable, easy-to-use device for monitoring blood sugar levels, designed to provide quick and accurate results for effective diabetes management.
1.1 What is the ReliOn Glucose Meter?
The ReliOn Glucose Meter is a compact, user-friendly device designed for monitoring blood sugar levels in individuals with diabetes. It provides quick and accurate results, making it an essential tool for daily diabetes management. The meter is known for its affordability and simplicity, offering features like automatic sample absorption and easy-to-read displays. It is compatible with ReliOn test strips and control solutions, ensuring reliable performance. The device is backed by Walmart and is widely recognized for its value and effectiveness in helping users maintain proper blood glucose control.
1.2 Importance of Blood Glucose Monitoring
Blood glucose monitoring is crucial for managing diabetes effectively. It helps individuals maintain target blood sugar levels, preventing complications like hyperglycemia and hypoglycemia. Regular monitoring allows users to evaluate the effectiveness of their treatment plans, including diet, exercise, and medication. By tracking glucose levels, individuals can make informed decisions to adjust their lifestyle and maintain better metabolic control. Consistent monitoring also aids in identifying patterns and trends, enabling timely interventions to avoid potential health risks associated with uncontrolled blood sugar levels.

Unboxing and Initial Setup
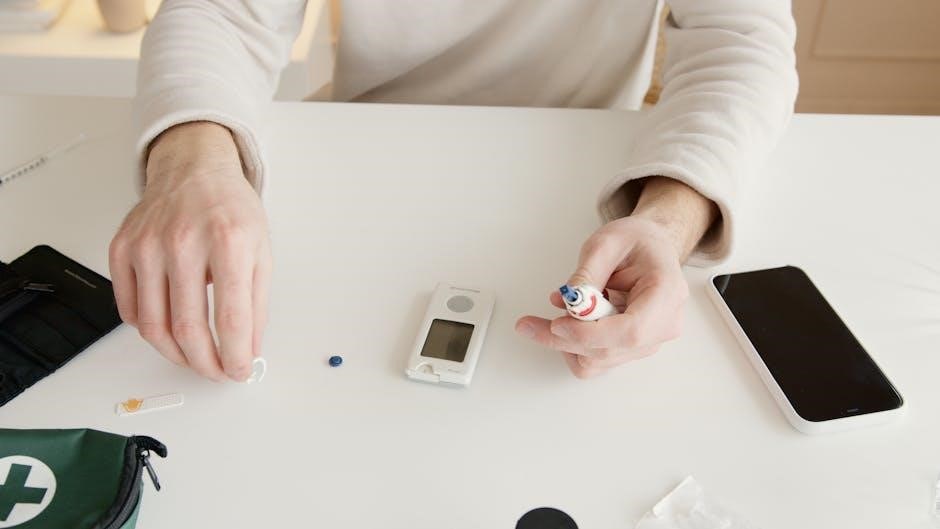
The ReliOn Glucose Meter kit includes the meter, test strips, lancing device, and control solutions. Insert the CR2032 battery and code the meter using the provided code strip.
2.1 Components Included in the ReliOn Glucose Meter Kit
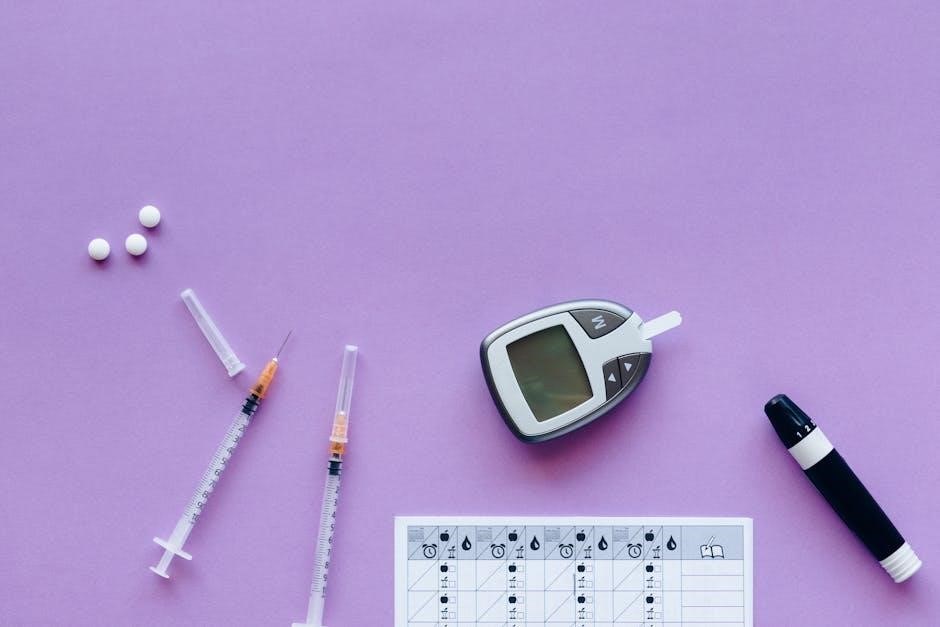
The ReliOn Glucose Meter Kit includes the meter, test strips, lancing device, control solutions, and a user manual. The meter comes with a pre-installed battery, while additional supplies like lancets and coding strips are also provided. Each component plays a crucial role in ensuring accurate blood glucose monitoring; The test strips are essential for measuring blood sugar levels, while the lancing device helps obtain blood samples. Control solutions are used to verify the meter’s accuracy. The manual provides detailed instructions for setup and use, ensuring users can operate the device correctly.
2.2 Installing the Battery

Installing the battery in the ReliOn Glucose Meter is straightforward. Open the battery compartment, located on the back of the meter, by sliding it downwards. Insert the provided lithium battery (CR2032 or DL2032) with the positive side facing up. Ensure the battery is securely placed to avoid any loose connections. Close the compartment firmly. The meter will automatically turn on, confirming proper installation. If the battery is low, the meter will display a warning symbol. Always keep spare batteries handy and out of reach of children. Proper battery installation ensures accurate and reliable glucose readings.
Using the ReliOn Glucose Meter
The ReliOn Glucose Meter offers a quick and accurate way to measure blood sugar levels, ensuring effective diabetes management with its easy-to-use interface and reliable test strip system.
3.1 Step-by-Step Guide to Testing Blood Sugar
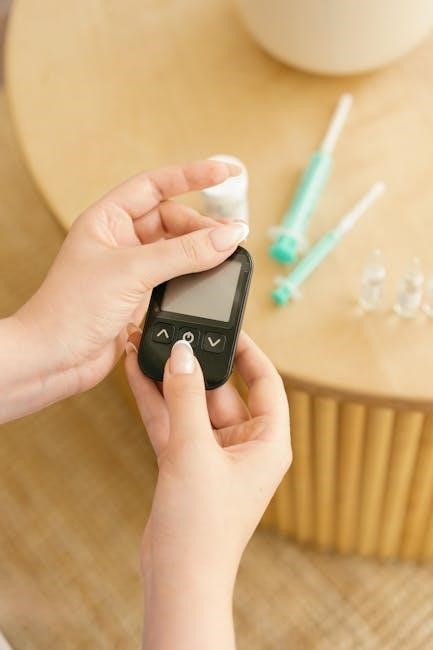
To test your blood sugar with the ReliOn Glucose Meter, start by turning it on and inserting a test strip. Gently prick your finger with the lancing device, allow a small blood drop to form, and touch the strip to the blood. The meter will automatically detect the sample and display your reading within seconds. Record the result for tracking and ensure the reading aligns with your target range. For accurate results, always use the side of your finger, as it has fewer nerve endings and more capillaries. This method ensures a quick and relatively pain-free testing experience.
3.2 Obtaining a Blood Sample
To obtain a blood sample for testing, wash and dry your hands thoroughly. Choose a clean, dry finger and prepare the lancing device with a new lancet. Gently prick the side of your finger, as it has fewer nerve endings. Apply light pressure to encourage a small blood drop to form. Avoid squeezing too hard, as this can cause discomfort or affect the sample quality. Once a sufficient drop appears, proceed to test your blood sugar using the ReliOn Glucose Meter. Proper technique ensures accurate results and minimizes discomfort during testing.
3.3 Reading and Interpreting Results
The ReliOn Glucose Meter provides quick and accurate results, typically within 5 seconds. Once the blood sample is applied, the meter displays your blood glucose level on the screen. Understanding your results is crucial for managing diabetes effectively. Blood glucose levels are measured in milligrams per deciliter (mg/dL). Aim to stay within your target range, which is usually between 70-180 mg/dL for most individuals. If your reading is below 70 mg/dL, it may indicate hypoglycemia, requiring immediate action. Readings above 180 mg/dL suggest hyperglycemia, which may need correction. Always consult your healthcare provider to interpret results accurately and adjust treatment plans as needed.

Calibration and Coding
Calibration ensures the ReliOn Glucose Meter provides accurate readings. Insert the code strip matching your test strips to synchronize the meter for precise results.
4.1 Why Calibration is Important
Calibration ensures the ReliOn Glucose Meter delivers accurate blood sugar readings. Proper calibration aligns the meter with the specific test strips being used, preventing false or misleading results. Without calibration, readings may be inconsistent or incorrect, which can lead to inappropriate treatment decisions. Regular calibration is essential for maintaining the meter’s performance and reliability. It confirms that the device is functioning correctly and provides trustworthy data for diabetes management. Always use the code strip provided with your test strips to calibrate the meter, as instructed in the manual. This step is critical for ensuring accurate and reliable glucose monitoring.
4.2 How to Code the Meter
To code the ReliOn Glucose Meter, insert the code strip provided with your test strips into the meter’s strip port. The meter will automatically read the code and confirm it with a beep or display notification. Once coded, the meter is ready for use with the corresponding test strips. Ensure the code number on the strip matches the vial of test strips you are using. Proper coding ensures accurate results and prevents errors. Always refer to the manual for specific instructions, as incorrect coding can lead to inaccurate readings. Coding is a simple but critical step for reliable glucose monitoring.
Maintenance and Troubleshooting
Regularly clean the meter with a soft cloth and store it in a dry place. Troubleshoot errors by checking test strips, battery life, and proper coding. Always use control solutions to ensure accuracy and address any issues promptly for reliable results and meter longevity.
5.1 Cleaning and Storing the Meter
Regular cleaning and proper storage are essential for maintaining the ReliOn Glucose Meter’s accuracy and longevity. Use a soft, dry cloth to wipe the meter, avoiding harsh chemicals or moisture. Store the device in a cool, dry place, away from direct sunlight and extreme temperatures. Keep the meter in its protective case or pouch when not in use to prevent damage. Ensure the battery compartment is clean and dry, and always keep batteries out of children’s reach. Proper storage and care will ensure reliable performance and extend the life of your glucose monitoring system.
5.2 Common Errors and Solutions
Like any electronic device, the ReliOn Glucose Meter may occasionally display error messages. Common issues include “HI” or “LO” readings, which indicate blood glucose levels outside the meter’s range. If this occurs, retest with a new strip and ensure proper coding. Strips contaminated with food, moisture, or extreme temperatures can cause inaccurate results. Clean the meter regularly with a soft cloth and avoid exposing it to harsh chemicals. If errors persist, consult the manual or contact customer support. Proper use of control solutions can also help verify meter accuracy and resolve issues effectively.

Understanding the ReliOn Glucose Meter Manual

The ReliOn Glucose Meter Manual is a comprehensive guide covering setup, testing, and maintenance. It details troubleshooting common errors and the importance of control solutions for accuracy.
6.1 Key Sections of the Manual
provides an overview of the device and its purpose. Components lists all parts of the kit, ensuring users understand what’s included. Testing Procedures offers a step-by-step guide for accurate blood glucose monitoring. Maintenance covers cleaning and storing the meter. Troubleshooting addresses common issues and solutions. Reference Information includes technical specifications and warranty details for user convenience.
6.2 How to Use the Manual Effectively
and Components sections to understand the device. Pay attention to step-by-step guides for setup and testing. Refer to the Maintenance section for cleaning and storage tips. Use the Troubleshooting section to resolve common issues quickly. Keep the manual handy for future reference. By understanding the manual, you can ensure accurate blood glucose monitoring and effective diabetes management.
Using Control Solutions
Control solutions verify the accuracy of your ReliOn Glucose Meter and test strips, ensuring reliable results. They come in specific levels to simulate blood glucose readings for testing.
7.1 What Are Control Solutions?
Control solutions are specialized liquids designed to verify the accuracy of your ReliOn Glucose Meter and test strips. They contain known glucose levels, simulating blood samples, and are used to ensure the meter and strips function correctly. These solutions are an essential part of maintaining the reliability of your glucose monitoring system. By testing with control solutions, you can confirm that your meter provides accurate readings, which is critical for effective diabetes management. Regular use of control solutions helps identify potential issues with the meter or test strips, ensuring your results are trustworthy and reliable for making informed health decisions.
7.2 How to Perform a Control Test
To perform a control test with your ReliOn Glucose Meter, start by gathering the meter, a control solution vial, and a test strip. Turn on the meter and insert the test strip, which will automatically code the meter if required. Next, dispense a small drop of control solution onto the test strip, making sure not to touch the strip’s surface. The meter will analyze the solution and display a result. Compare the reading to the expected range provided with the control solution. If the result is outside this range, your meter or strips may need adjustment. This process ensures accurate monitoring and proper functionality of your glucose testing system.